What is Schema?
Schema or schema markup is code that you can add to your webpage that tells Search Engines like Google about the content contained on the page.
The code itself if not very easy easy to understand for a non-technical audience but to put it in layman’s terms. Schema is a special language used to describe and define the meaning of information on websites.
The format of the code can come in many different forms. Today the most widely used format is known as “Schema.org Schema” or “Google Schema”. Previously other forms of Schema such as “Dublin Core Schema” was used, but it will come as no surprise that the format that is created and favored by the most popular search engine in the world has now taken precendence.
Before we get into how to use Schema on your site, some key points to note are:
- Schema formats are not black and white, there are many different forms and accepted versions.
- Structured data can exist in various formats, such as Microdata or JSON-LD.
- Terms can be defined using different vocabularies, such as Schema.org or Dublin Core.
In general, when referring to Schema Markup, people often mean using structured data with the Schema.org vocabulary. And for the purposes of this article this is what we’ll be referring to from here onwards.
How to add Schema to your WordPress website
Add schema code to your site manually
This is not our recommended method but is a good way to learn more about Schema and improve your understanding of its structure and purpose.
You can create Schema using Google’s Structured Data Markup Helper. You’ll find a list of schema types to choose from and enter the URL of the page you want to tag, or simply paste the HTML.
After loading the page, the markup tool will provide you with a list of items to tag in the content. You then tag and select the type of element you want to mark up. Once tagging is complete, you finalize and click on “create HTML” and choose Microdata or JSON-LD from the dropdown menu (JSON-LD is Google’s preferred structured data type). Finally, copy and paste the new HTML code into your source code. Remember, this is not practical for applying to a large number of posts, but it can be useful for one off projects or pages.

Add via WordPress plug-ins
An easier method of adding Schema is to use plugins which will automatically parse your WordPress content and use the values, for example the article title, date published and author name provided by WordPress in order to add schema markup to your articles and pages. There are plenty of Schema plugins available on WordPress for installing Schema on your website. You can search for them in the “Add New Plugins” dashboard. Here are some useful and easy-to-use plugins that we recommend.
Yoast SEO plugin
Yoast’s SEO plugin creates a detailed picture of your site’s content types and settings, helping search engines understand it better. It also marks individual posts and pages with details like post type and author. Archive pages get categorised too, like CollectionPages for categories and archives, and ProfilePages for author archives. Even search results pages get marked up as SearchResultsPage. All of this is available for free with the basic version of Yoast and it takes only minutes to setup which is why it’s one of our favourites. After installing the plugin follow these steps to get your Schema activated.
- Go to the “SEO” tab and click on “Search Appearance.”
- Select the “Content Types” tab to configure schema settings for different types of content on your website, such as posts, pages, and media.
- Enable the “Schema.org structured data” option for each content type you want to include schema markup for.
- Customize the appearance of your content in search engine results by filling in the fields provided, such as the title template and meta description template.
- Save your changes.
- Optionally, you can further optimize individual posts or pages by scrolling down to the Yoast SEO meta box when editing a post or page.
- Fill in the “Snippet Preview” section to customize how your content appears in search engine results, including the title, URL, and meta description.
- Save your changes and preview the post or page to ensure the schema markup is applied correctly.
This plugin is ideal for standard use cases, or for anyone that’s just getting started with Schema. If you have more a more complicated use case for example you are operating in an extremely competitive industry or you are running a site that is heavy in user generated content, or has e-commerce functionality then you will probably require a more advanced solution, or a combination of plugins and manual intervention led by a developer in order to get the optimal schema output.
Schema Pro
Schema Pro is a WordPress plugin specifically designed to support the creation of structured data in JSON format without the need for coding knowledge. Using Schema Pro helps search engines understand the content structure of your website, leading to faster and more efficient content ranking by Google. Steps by steps of using Schema Pro:
- Install and activate the Schema Pro plugin on your WordPress website.
- Once activated, go to the Schema Pro settings in your WordPress dashboard.
- Configure the general settings, such as selecting a default schema type and enabling schema markup on specific post types.
- Customize the schema settings for individual posts or pages by scrolling down to the Schema Settings section when editing a post or page.
- Choose the appropriate schema type for your content from the available options, such as Article, Product, Event, etc.
- Fill in the required schema fields with relevant information related to your content, such as name, description, image, etc.
- Save your changes and preview your post or page to ensure the schema markup is applied correctly.
🌊 You won’t get lost in the data from your website. We’ll explain what your data means and how to use it to get more visitors and sales. Get a quote →
How to check if your Schema is working?
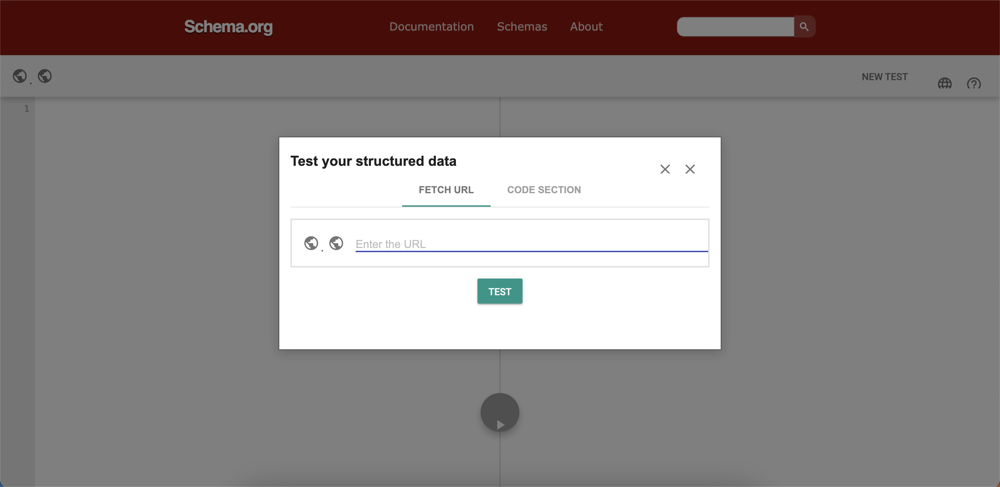
Schema Markup Validator (SMV)
The Schema Markup Validator (SMV) is a tool for checking Schema that has been in operation since May 2021, fully replacing Google’s Structured Data Testing Tool in August 2021. Essentially, this tool is built on the foundation of Google Structured Data Testing Tool, allowing validation of structured data based on Schema.org embedded in websites. SMV can extract JSON-LD, RDFa, and Microdata markup, display a summary report of the extracted structured data, and identify syntax errors within the markup.

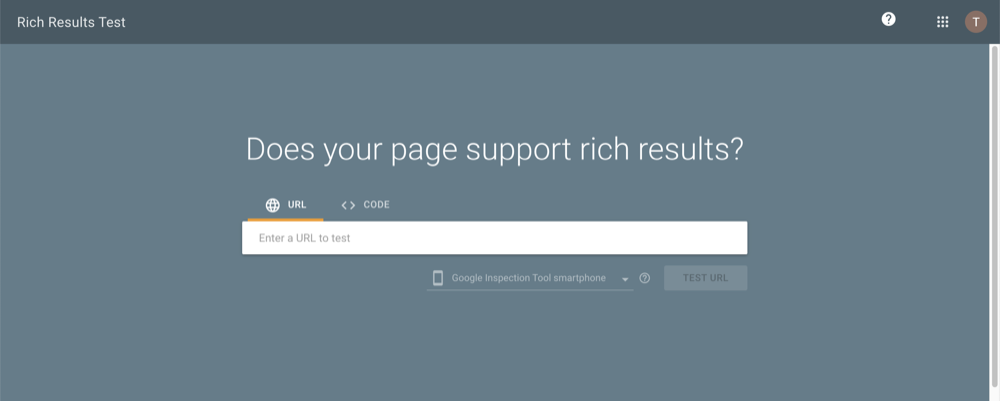
Rich Results Testing Tool (RRTT)
The Rich Results Testing Tool (RRTT) offers many useful features, comparable to Google Search Console. This tool can provide a preview of how a page’s results appear on the SERP.
It’s important to note that this tool only validates schema.org types eligible for displaying rich results. If not eligible, users can view the “raw” JSON-LD to see if the data is being collected. Additionally, if users want to see all the markup on a page, they should use other testing tools.

Google Search Console
Google Search Console is an excellent tool for monitoring whether markup is valid and assessing its impact on website performance. By following these steps, you can check your schema status.
- Sign in to Google Search Console.
- Select your website.
- Navigate to “Enhancements.”
- Choose “Structured Data.”
- Look for the “Valid” label next to your schema types.
- If it’s valid, great! If not, review the errors listed.
- Fix any errors and monitor for improvements.
Please note that when you make updates to your WordPress schema it will not immediately be re-validated or checked by Google Search Console. You’ll have to wait til the next time that Google decides to analyse your website in order to get that feedback, so we strongly recommend using a more immediate tool first, such as the Schema Markup Validator.
The benefit of having Schema on your site
When you use schema markup, Google can easily understand your content and display it for the most relevant search queries. You also may show up in rich snippets – rich snippets are rich information snippets from a webpage displayed on the Search Engine Results Page (SERP). Rich Snippets typically include the Title, URL, Meta Description, and additional elements such as navigation, review ratings, internal links, and thumbnail images. Common types of Rich Snippets include breadcrumb trails, review and rating snippets, product snippets, event snippets, anchor snippets, sitelink snippets, and more.

(example of review and rating snippets from Apple)
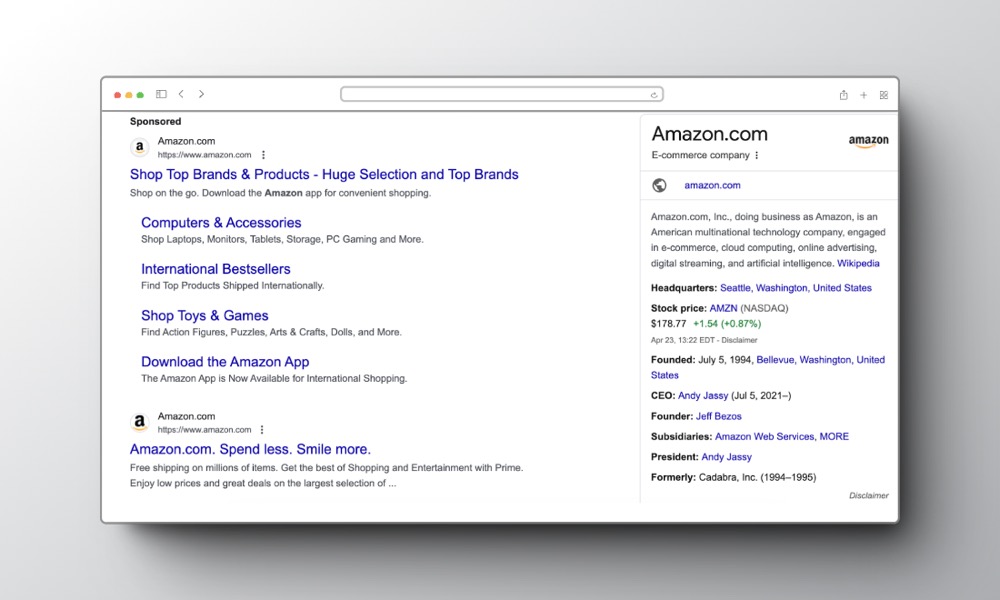
It’s also possible to show up in Google’s Knowledge Graph snippets in Google Search. Examples of Google’s Knowledge Graph snippets include Companies, Non-profit Organizations, Influential People, Local Businesses, Media (Movies, TV Shows, Books, Music, etc.), Nutrition Information, Products.

(Google’s Knowledge Graph of Amazon)
Your website may receive rich snippets, providing additional information like recipes or reviews, and become part of Google’s Knowledge Graph, offering basic information about famous entities like brands.
When users click on your website, whether through rich snippets or the knowledge graph, Google notices that those searching for related queries or your brand’s name choose your website over others. This signals to Google that your site is a relevant result for that specific search, thus improving overall brand visibility.
Additionally, schema enhances user experience by providing supplementary information, helping users make informed decisions. This can lead to increased traffic and improved conversion rates, improving on-page SEO effectiveness.
Conclusion
Schema is important for boosting your website’s SEO and user-friendliness. You can add it to your site with some coding knowledge or through WordPress plugins. If you’re unsure, reach out to web development experts for help with setup.


