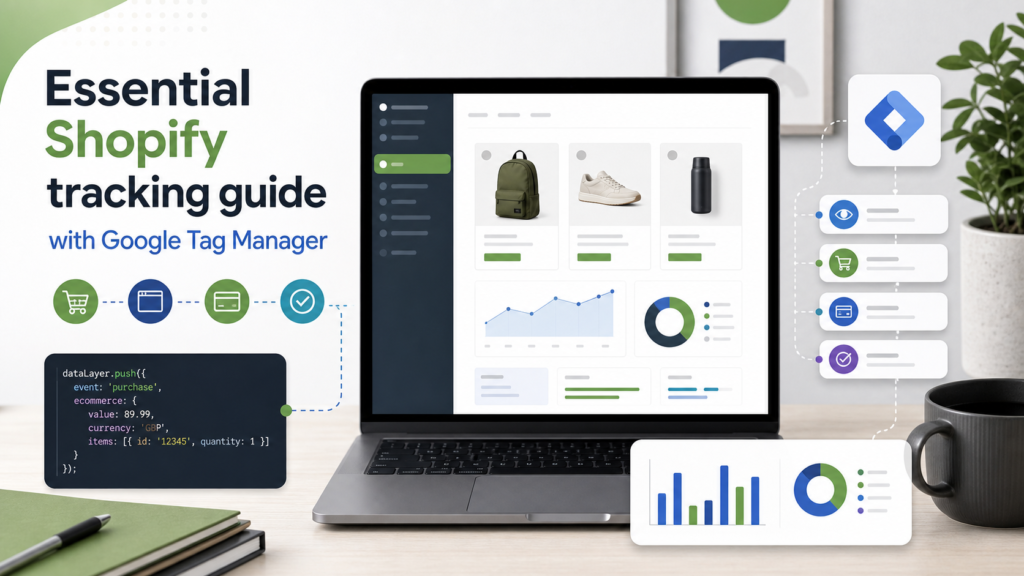
Use this setup when you need Google Tag Manager to receive Shopify page, product, and collection view events. The flow is simple: Shopify fires the customer event, your custom pixel pushes a clean event into dataLayer, and GTM uses that event to trigger the matching GA4 tag.
- Page views: track when customers move through store pages.
- Product views: track when customers view a product or variant.
- Collection views: track when customers open product collections.
Before you start
Shopify documents these as standard Web Pixels API events, including page_viewed, product_viewed, and collection_viewed. Use those event names in the custom pixel, then map them to the GA4 event names you want in GTM.
This guide covers browsing events. For order validation, use the separate checklist on checking whether Shopify tracking pixels are working.
Set up Shopify event tracking in GTM
Step 1: Add GTM to a Shopify custom pixel
- Open your Google Tag Manager account.
- Select the container for your Shopify store.
- Go to Admin and choose ‘Install Google Tag Manager’.
- Copy your GTM container code and remove the surrounding HTML tags if your custom pixel only accepts JavaScript.
- In Shopify admin, go to Settings > Customer events > Custom pixel.
- Paste the adapted GTM code into the custom pixel and save it.
Step 2: Push Shopify events into dataLayer
Page views
Create a GA4 event tag in GTM with the event name page_view. Then add this custom pixel code so Shopify’s page_viewed event reaches GTM:
window.dataLayer = window.dataLayer || [];

analytics.subscribe('page_viewed', (event) => {
    window.dataLayer.push({
        'event': 'page_viewed',
        'page_location': event.context.window.location.href,
        'page_title': event.context.document.title,
    });
});
Product views
Create another GA4 event tag with the event name view_item. Use this code to pass product data from Shopify into GTM:
window.dataLayer = window.dataLayer || [];

analytics.subscribe('product_viewed', (event) => {
    window.dataLayer.push({
        'event': 'product_viewed',
        'product_id': event.data?.productVariant?.product?.id,
        'product_title': event.data?.productVariant?.title,
        'product_sku': event.data?.productVariant?.sku,
        'timestamp': event.timestamp,
        'url': event.context.document.location.href
    });
});
Collection views
Create a third GA4 event tag with the event name view_item_list. Use this code to send collection data into GTM:
window.dataLayer = window.dataLayer || [];

analytics.subscribe('collection_viewed', (event) => {
    window.dataLayer.push({
        'event': 'collection_viewed',
        'collection_id': event.data?.collection?.id,
        'collection_title': event.data?.collection?.title,
        'timestamp': event.timestamp,
        'url': event.context.document.location.href
    });
});
Step 3: Create matching GTM triggers
Each GA4 tag needs a Custom Event trigger. In GTM, create one trigger for each event name:
page_viewedproduct_viewedcollection_viewed
Link each trigger to the GA4 tag that uses the matching Shopify event. Preview the GTM container, browse the storefront, and confirm the events appear before publishing the container.
How Shopify event tracking works
Shopify sends customer events when shoppers interact with the storefront. The analytics.subscribe method listens for those events inside the custom pixel. The dataLayer push then makes the event available to Google Tag Manager in the format your triggers expect.
