
Creating a contact form in WordPress is important for staying connected with your customers. While your main goal may be to offer valuable content and promote products to customers who need them. Visitors may still need to contact you for things like questions, partnership proposals, or reporting issues with your website. A contact form makes this process easy. In this article, we will show you how to add a contact form in WordPress using these 4 simple plugins.
🌊 Too busy to manage your WordPress site? Our expert team handles all your website needs – from fixes to improvements – while you focus on running your business. Start with our WordPress retainer service →
What are the basic elements of a contact form?
We recommend you keep the contact form simple with these basic elements:
1. Name: A field for the user to enter their name.
2. Email Address: A field for the user to enter their email address.
3. Message: A larger text area for the user to type their message.
4. Short privacy policy notice and link: To help you comply with local privacy regulations such as GDPR.
5. Submit Button: A button to send the completed form.
Optional but useful elements to filter the type of information might include:
6. Dropdown Menu: To select a specific topic or department.
7. Captcha: To prevent spam submissions by confirming the user is not a robot.
How to add a contact us form to WordPress via plugins
Here are 4 plugins to add a contact us form to your WordPress site, along with basic instructions for each:
WPForms
Instructions:
1. Install and activate the WPForms plugin from the WordPress plugin repository.
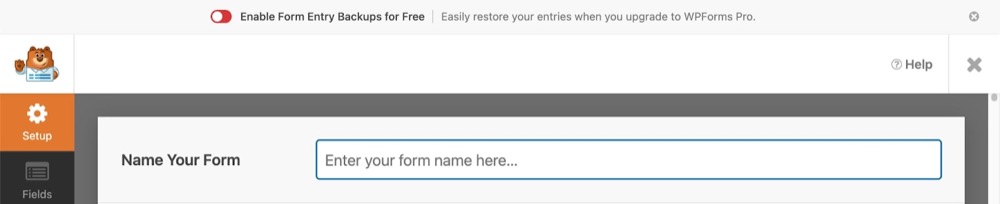
2. Go to WPForms in your WordPress dashboard and click on Add New.
3. Name your form and select a template (e.g., Simple Contact Form).
4. There are plenty of contact form templates (ex: newsletter signup form) that you can choose.
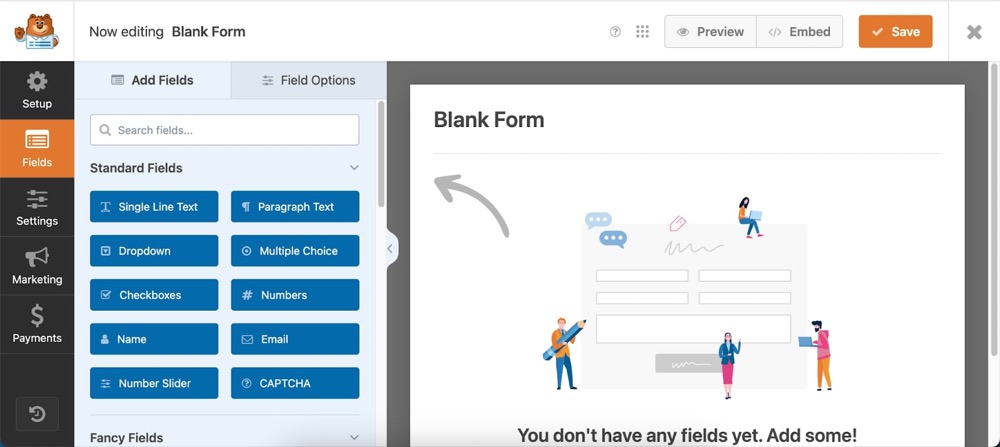
5. WPForms allow users to create a customised one. Basically just simple drag and drop the elements that you want
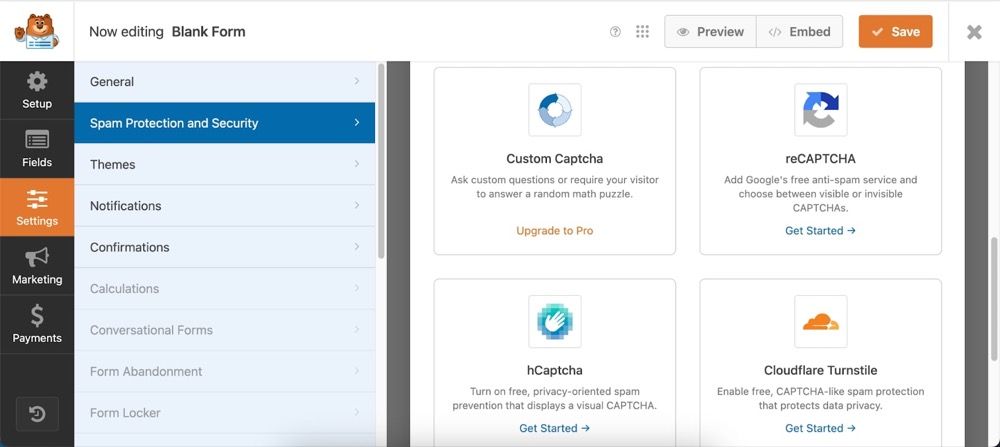
6. With the settings, on free use, you can adjust general, spam protection and security, themes, notifications and confirmations. Some of the settings are quite complicated so you should consult with WordPress development experts.
7. The final step is to create a separate page on WordPress to add the contact form. You can name the page as “contact us” for example.
In the editor, choose where you want to add the form and click on the “+” button to add a new block. A window will show up with different options. Look for the search bar, type in “wpforms,” and select the WPForms block.
Contact Form 7
Instructions:
1. Install and activate the Contact Form 7 plugin from the WordPress plugin repository.
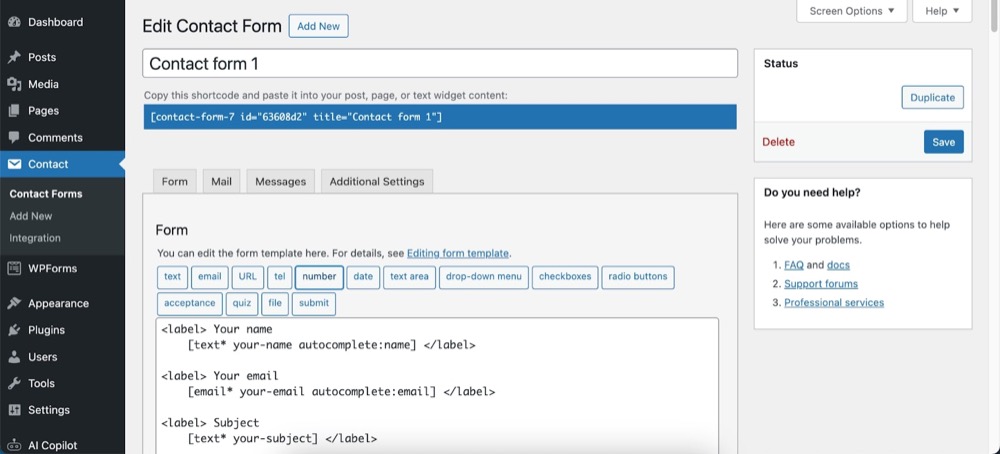
2. Go to Contact in your WordPress dashboard and click on Add New.
3. Name your form and customise the fields using the editor.
4. Copy the shortcode provided after saving your form.
5. To add the form to a page or post, paste the shortcode into the page/post editor where you want the form to appear.
6. Publish or update your page/post.
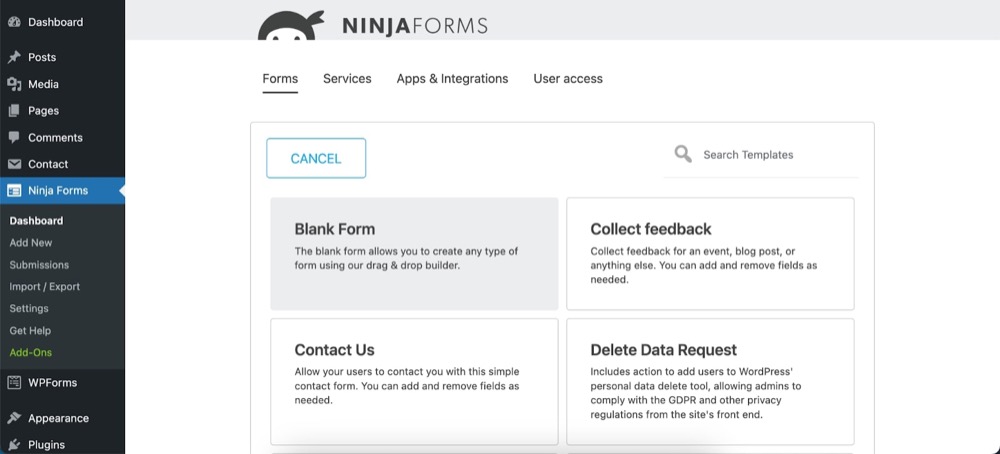
Ninja Forms
Instructions:
1. Install and activate the Ninja Forms plugin in WordPress dashboard
2. Go to Ninja Forms in your WordPress dashboard and click on Add New.
3. Choose a template (e.g., Contact Us) or start with a blank form.
4. Customise your form by dragging and dropping fields from the right panel to the form builder.
5. Click Done to save your form.
6. To add the form to a page or post, create or edit a page/post, and click the Add Form button above the editor. Select your form from the dropdown and click Insert.
7. Publish or update your page/post.
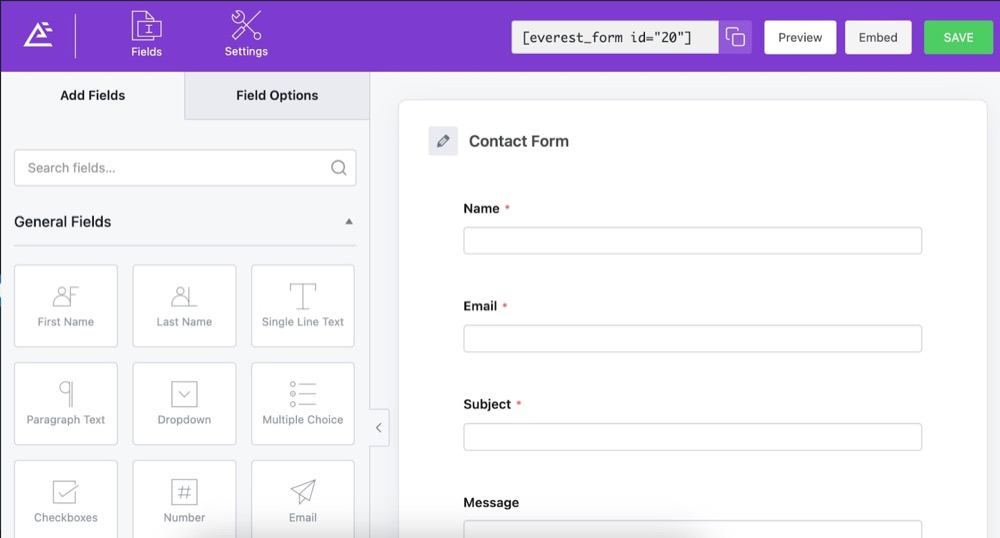
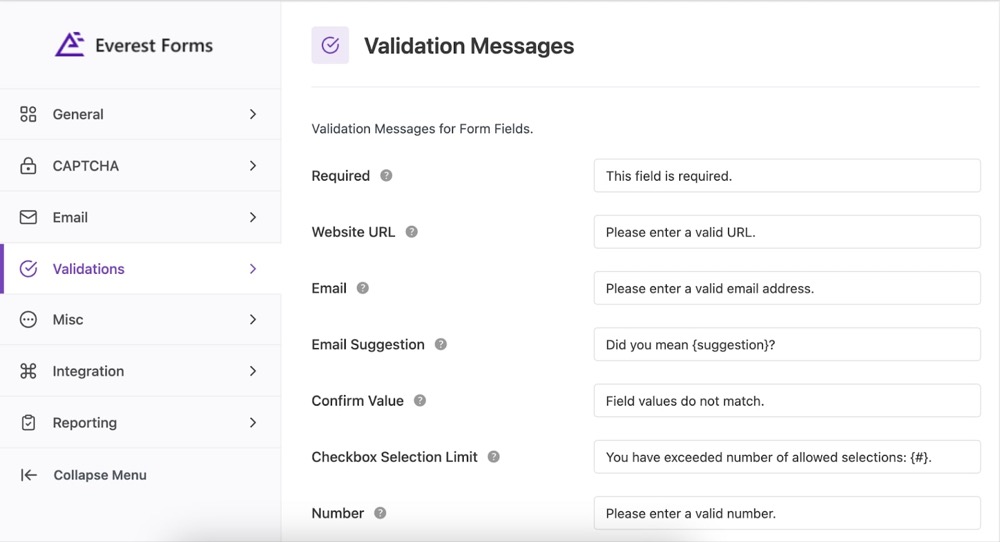
Everest Form
Instructions:
When you install the plugin, it will automatically create a contact form for you.

Then you can edit the form whatever you want
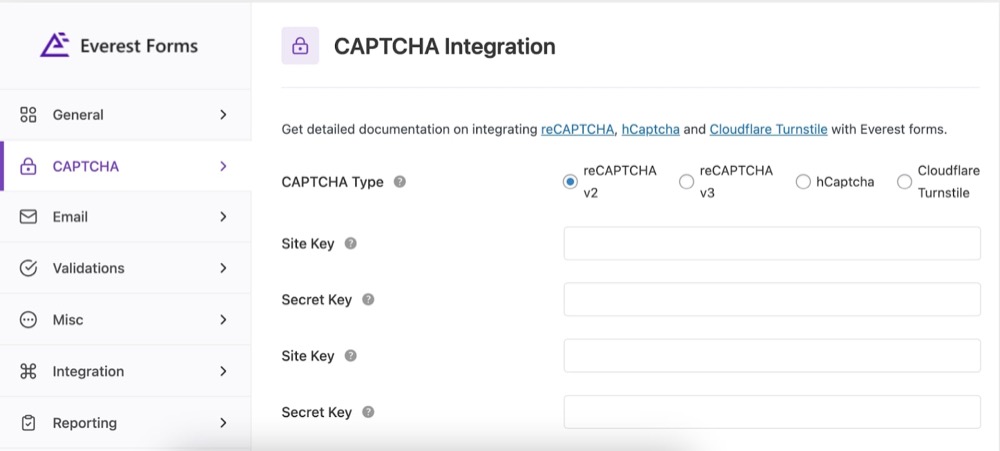
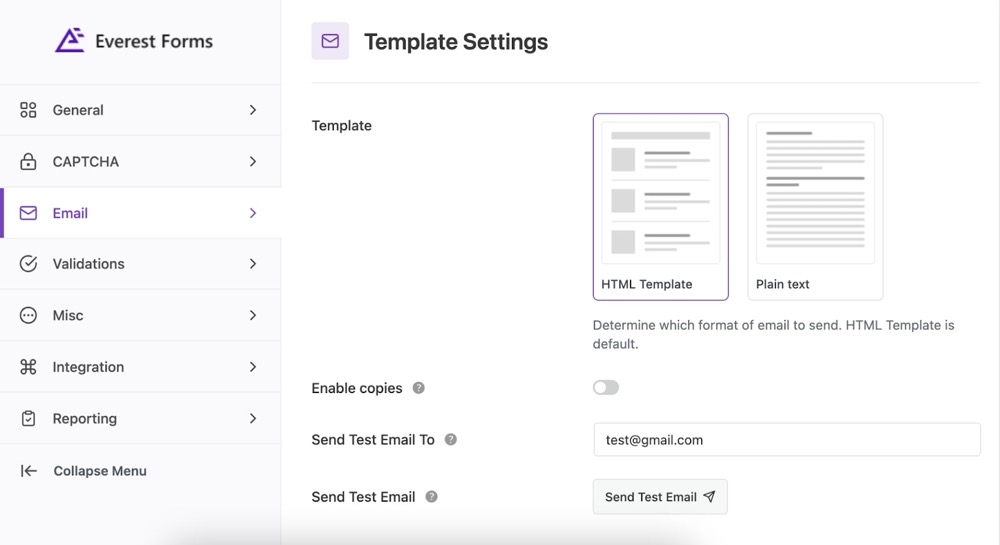
You can also edit some settings like CAPTCHA Integration, Validation messages, or template settings
Where to put the contact form in WordPress?
The most ideal places to add a contact form on your website include:
1. Contact Us page: A dedicated page named “Contact Us” where users can easily find the form.
2. Sidebar: Adding the form to the sidebar ensures it appears on multiple pages, increasing visibility.
3. Homepage: Placing a contact form on the homepage can capture interest from visitors right away.
4. Service page: Since visitors might want to contact you after learning more about your business, having a form here is convenient.
5. Support or Help Page: For websites that offer customer support, placing a contact form on the support page helps users reach out for assistance easily.
Conclusion
Adding a “Contact Us” form to your WordPress site is easy with plugins. Pick a plugin you like and customise the form as you want. Remember to keep it simple; don’t ask for too much info. A well designed form can help boost your conversion rate. If you face problems like spam or email setup with the form, consider getting help from a website retainer service to fix it quickly.
